I was going to write at some point about why Hyper-V on Windows 10 is generally a better choice than VMware Workstation. It still is, but Vagrant eases some of the pain with VMware Workstation, through you need a plug-in licence to be able to integrate VMware Workstation with Vagrant (on top of the cost of VMware Workstation!). If you do buy the plug-in, that give you the ability to interact with VMware Workstation through software, just at a fairly substancial cost. With Hyper-V you can interact with it from the command-line (ie, Powershell) with or without Vagrant.
Auguably the link betwen Vagrant and VMware Workstation is better than the link with Hyper-V, but there is no cost to Hyper-V, or to use Vagrant with Hyper-V.
So what is Vagrant? It is a great way to quickly spin up and destroy an environment that you can use for development. This could be the creation of a couple of webservers and a database, and can of course be done on a variety of operating systems.
You do this through the use of the "vagrantfile", that holds a configuration, which Vagrant uses to spin up (and down) your environment. The great thing is, you don't need to build the VMs manually, and you don't need to do manual clean-up. You can do all of that with Hyper-V anyway (with PowerShell), but Vagrant can use the same configuration across different hypervisors. So you can create your stack on Hyper-V, but if you want to move that to VirtualBox, you can, or even VMware, with minimal changes.
This is a simple Vagrantfile:
    Vagrant.configure("2") do |config|

        config.vm.define "webserver01" do |web01|
            web01.vm.box = "mwrock/Windows2016"
            web01.vm.provider "hyperv"
            web01.vm.hostname = "windows-webserver01"
            web01.vm.communicator = "winrm"
            web01.winrm.username = "administrator"
            web01.winrm.password = "vagrant"
            web01.vm.network "public_network"
            web01.vm.provider "hyperv" do |h|
                h.memory = 1024
                h.cpus = 2
            end
        end
    end
This is creating a VM called "webserver01", based on a "box" (an image) called "mwrock/Windows2016", and creating it on Hyper-V. You can create this structure for many devices in the same vagrantfile. If the box doesn't exist on your system already, it will be downloaded (from Vagrant). If it does, it will use the local copy. You can also use boxes from other URLs, and even local paths, so creating your environment "vagrant up" can be very fast. Almost as fast as tearing it down and cleaning it up (vagrant destroy). Boxes are generally specific to a hypervisor, but you can see the Hyper-V ones here. Of course as a free account holder, you can upload any publically accessible box to Vagrant, but you will need a paid account to store private boxes.
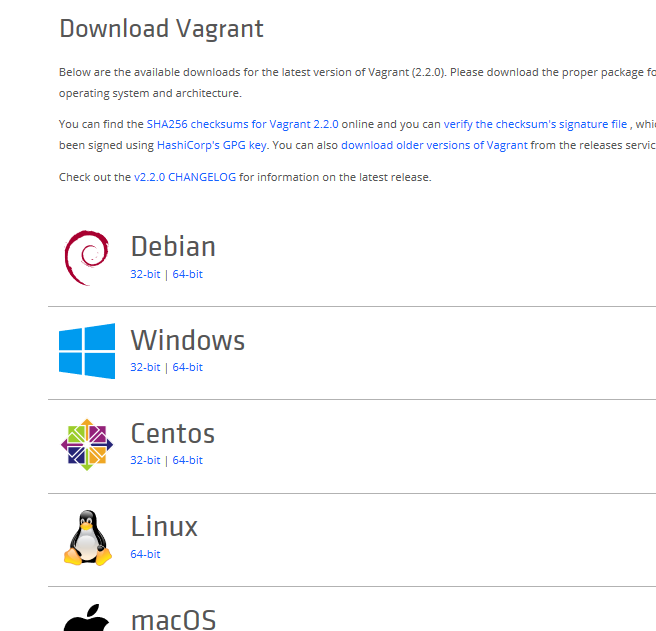
Taking a step back though, we need to get Vagrant installed first. Assuming you are doing this on Hyper-V, you are probably using Windows 10, so head over to www.vagrantup.com to download it and install it. You do need to restart after install.
Once you restart, open a PowerShell window with administrator rights. If you don't use vagrant in a console window with admin rights, you will receive an error:
    No usable default provider could be found for your system.

    Vagrant relies on interactions with 3rd party systems, known as
    "providers", to provide Vagrant with resources to run development
    environments. Examples are VirtualBox, VMware, Hyper-V.

    The easiest solution to this message is to install VirtualBox, which
    is available for free on all major platforms.

    If you believe you already have a provider available, make sure it
    is properly installed and configured. You can see more details about
    why a particular provider isn't working by forcing usage with
    `vagrant up --provider=PROVIDER`, which should give you a more specific
    error message for that particular provider.
This makes sense really, because you typically need admin rights to interact with Hyper-V.
Hyper-V support is out of the box, so you don't need to install a Hyper-V provider, but there are other providers where you may want to install later, such as AWS.
So, you can then test the creation of your package. If you don't have a vagrantfile already, create one by running:
Vagrant init
This will create one. Edit it, remove the comments (optionally), and enter the details for your vagrant environment (like the sample above). Then create it by running the following:
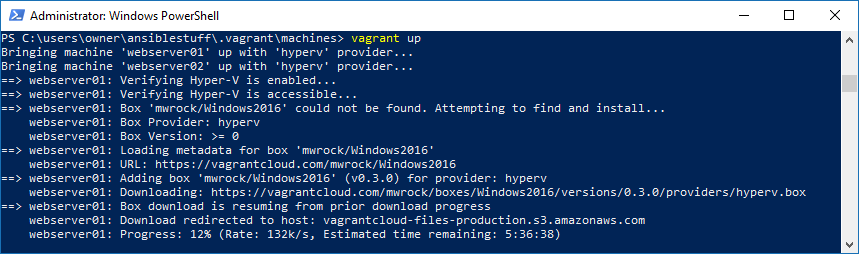
Vagrant up
And it will then start creating your envrionment:
You can test connections with Powershells test-wsman
Test-wsman 192.168.0.101
When you are done, suspend it:
Vagrant suspend
Or delete it:
Vagrant destroy
So in summary, you can very quickly spin up an environment, which is consistent, generated from code, portable, able to be stood up in different environments.
For more information, there is a good Microsoft article here, or go to the Vagrant Getting Started Guide here.
comments powered by Disqus