Backups are a critical part of any IT operation, and they should be at home too. Cloud services make the abiilty to run a backup much easier, and obviously you don't require new hardware in order to run it.
I was lucky enough to recevie a copy of Cloudberry Backup to allow me to give it a review and test.
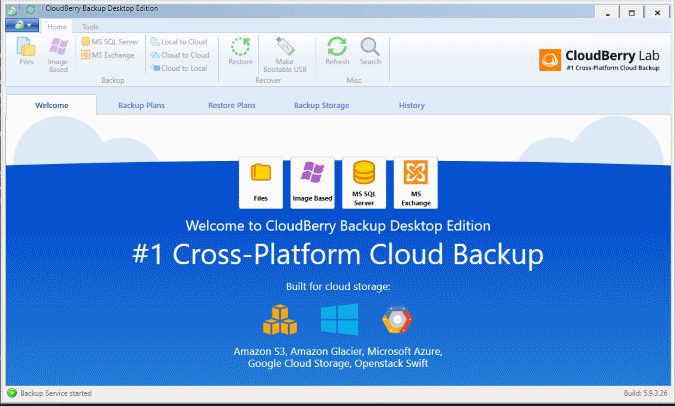
The installation of very straight-forward, as this is just an .MSI. Once installed, a backup service is started on your PC, and you then have the choice of four different backup types, although as this is the desktop edition, I am restricted to "files". Which is fine, I am not running MS SQL Server or MS Exchange on my desktop, and although I have images, files are what I am after at this point.
So the first thing you get when you select files, is a wizard, with a choice of "local or cloud", or "hybrid" backup. This is useful because backing up to the cloud can take a while, depending on your bandwidth, so the ability to do hybrid backup, gives you a local copy of your backup, and then it will upload to the cloud in it's own time. You may have a NAS box, or USB drive that you want to do the backup to first, to ensure that youh a copy, and then Cloudberry Backup with syncronize it up to the cloud. I like the option to also scan files for ransomware.
When you select "next", you will be prompted to create a local storage account. This is where you specify the path and credentials for where the backup is going to go. Again, this could be local, or over the network. Once you have specified the path and credentials (if required) and pressed "OK", you will be able to select this as your local storage.

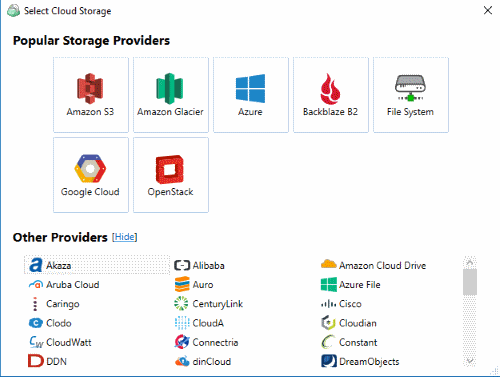
You then need to create your cloud storage account. Obviously I am going to use AWS S3 for this, but Cloudberry Backup also supports a lot of additional platforms, as you can see in the image below. These inlcude Azure, Google Cloud, OpenStack, and many others. So I entered my Access Key and Secret key, and then selected my (previously created) heywoodonline-cb-backup bucket. If you don't have an AWS account, you can actually sign up for one at this point too.
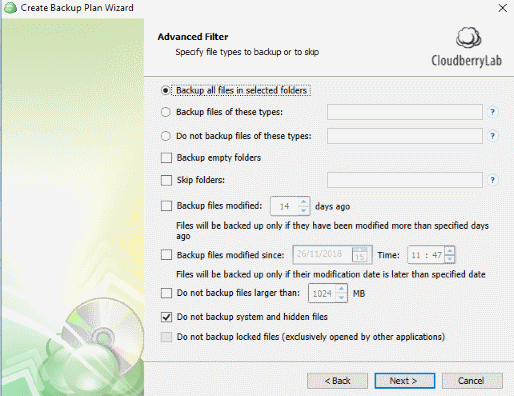
After pressing Next, you are prompted for a name for your plan, and you can then select what you want to backup. Here, you can select multiple locations, and then press OK to get to the advanced options. There are some really good options here, so for example you can exclude files over a specific size, or choose to whitelist/backlist specific file types.

When you choose next, you then also have the option to enable compression and encryption, including SSE (Server Side Encryption) if you are backing up to a platform that supports this, such as S3. You can also choose the storage class that you want to use as well.
Then, you can choose your retention settings. Here you can use retention settings specific to this particular plan, or you can opt to use your global retention settings. Global settings are probably the way to go here, and then just modify specific settings if you have a requirement for a particular location, or back-end storage platform.
You can choose a schedule. Or alternatively, just leave it and you can run it manually. If you are using block level backups, the product will strongly recommend scheduled changes, which makes sense, as block level changes will be much smaller when running regular backups.
A nice touch, is the ability to run commands before and after the backup, and also chain backups together. You can also choose to receive notifications for when the backup fails, or for all successful backups too.
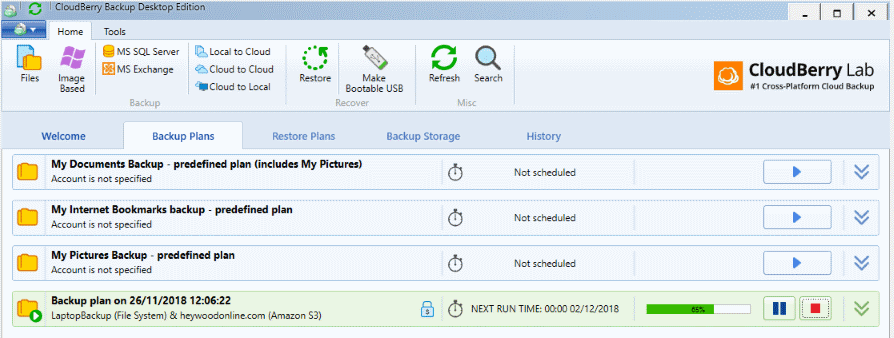
When you review and finish, you can then see your new plan, and can run it by pressing on the "play" arrow.
Recovery
Backups are useless if you can't recover, so recovery testing should be a critical part of any process, especially for your personal files!
To run a restore, you simply press the "restore" icon from the toolbar at the top to start the Restore Wizard. You can then select whether to restore from you local copy, or from the cloud, if you did a Hybrid backup, otherwise it is from the cloud.

Like with backups, you have have a scheduled restore plan, or just run a one-off restore. You can then choose whether to choose the files you want to restore manually, or via a date/time set of criteria. Which one you want, will depend on why you are doing the recovery.
After choosing the files, decide on whether to restore to the original location, or to a different location, and enter any decryption details if requried. You can save your preferences for next time too. Choose your notification options, and press Next. Your recovery plan is then created.
You can run your recovery plan, just like a backup plan, which is nice and consistent.
Overall
This is a great backup solution for ensuring you have a copy of your important files. Priced at US$49.95 for a perpetual licence, this represents good value. There is a freeware version too which is worth considering, however that does not include some of the extra features, like additional scheduling options, encryption, and compression.
You will need to factor in storage costs too, but with standard S3 storage coming in at 0.024c/GB (US-East-1) on AWS, those are not going to be huge for most people. If you are storing 4TB though, rather than 40GB, you might need to do the maths The ability to choose your storage type also gives you a lot of flexibility to reduce that even further, as does the abililty to select folders that will be added to Glacier through the use of the "lifecycle policy" feature.
There are plenty of enterprise-grade features here, in an easy to use package.
comments powered by Disqus